GlobalSpa
10-Feb-2023
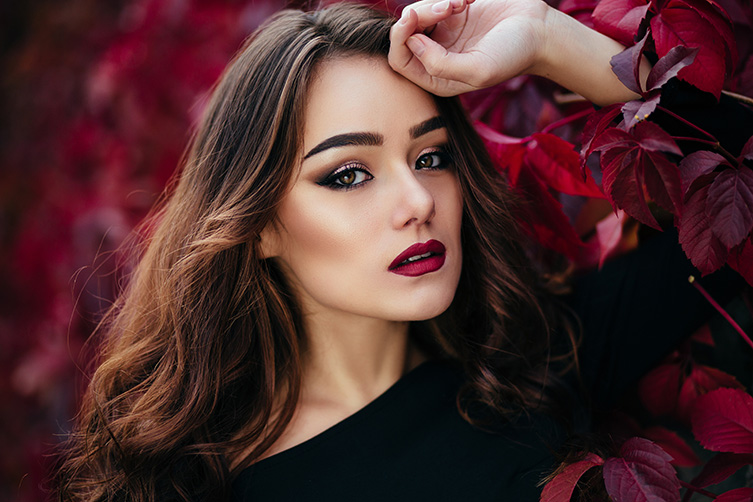
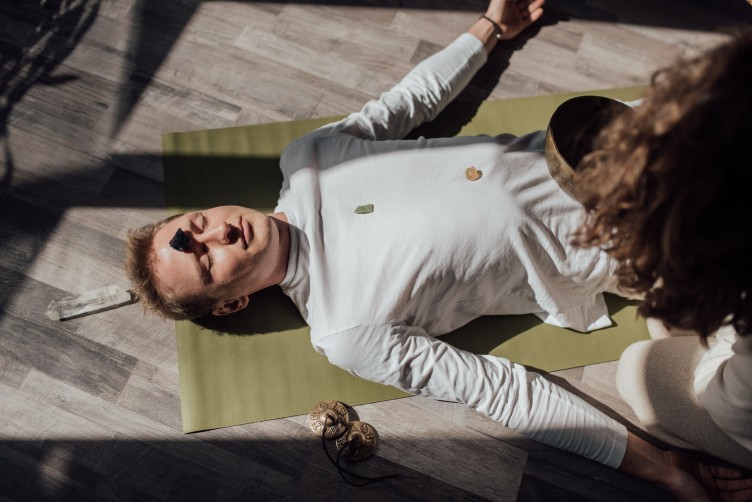
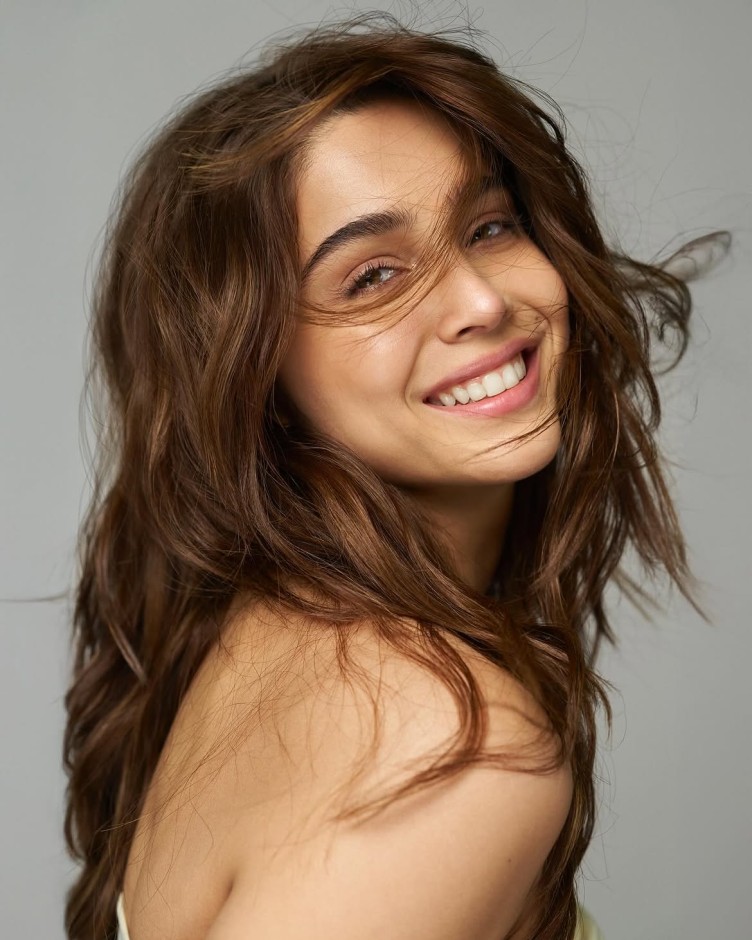
Valentine's Day is right around the corner and while your heart is painted in pink hues of love and mush it is the perfect excuse to glam up your look with shimmery eyeshadow, smoky eyes and bold red lips.
Shobana & Navneethan– Founders at BlushBee Organic Beauty share some tips and tricks to help you ace that glam look you've been prepping for.

A smoky eye is one of those universally flattering makeup looks that can be worn to any occasion, from the red carpet to a date to happy hour with your friends. While this classic look may appear to be something only makeup artists can achieve, perfecting the smoky eye is actually quite simple when broken down step by step.
What You'll Need to Get a Smoky Eye:
Concealer: To prime and smooth the eye area, use a full-coverage concealer. Alternatively, if you prefer to use an eyeshadow primer instead of concealer, that will also work!
Shader Eyeshadow Brush: Before blending your smoky eye, use a densely packed eyeshadow brush, to effectively transfer pigment from the eyeshadow pan onto your lid.
Blending Brush: A fluffy blending brush is essential for blending your shadows together seamlessly and without harsh lines.
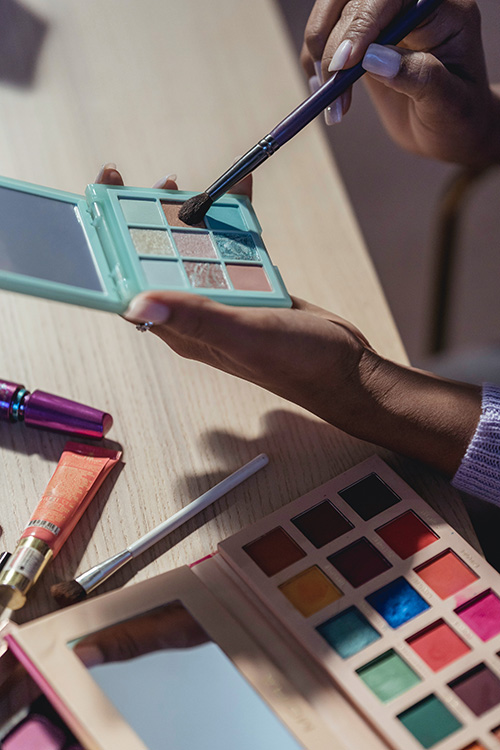
Eyeshadow Palette: Three coordinating eyeshadow shades are required to create a classic smoky eye: an all-over shade, a crease colour, and a highlight. A palette with shimmer and matte shades, in Smokey, can be used to create a variety of smoky eye looks.
Eyeliner: A gel formula makes it simple to create a rich, blendable colour that you can smudge for a dramatic smoky eye or leave sharp for a cleaner, more minimal look.
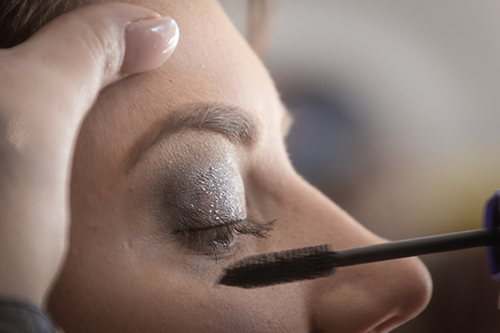
Black Mascara: To ensure that your mascara never runs, use a waterproof mascara that will stay in place until you remove it with makeup remover.
How to Apply a Smoky Eye:
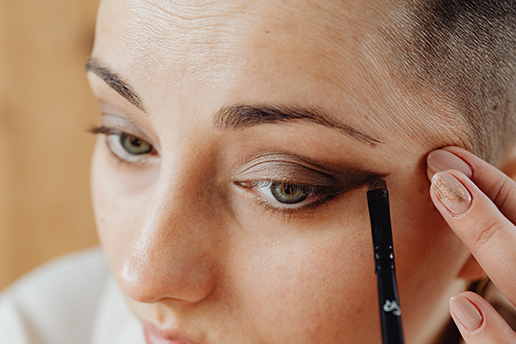
1.) Start by priming your lid.
To avoid eyeshadow fallout and smudging later in the day, start by priming the eye area. To prime, use either an eyeshadow primer or a brightening concealer—both will help to smooth out your eye area and provide something for your makeup to adhere to.
Makeup artists prefer concealers over the other two options. The lid, as well as any other areas they use the product, are covered in it. This will smooth the eye and provide a flawless foundation for your shadow.
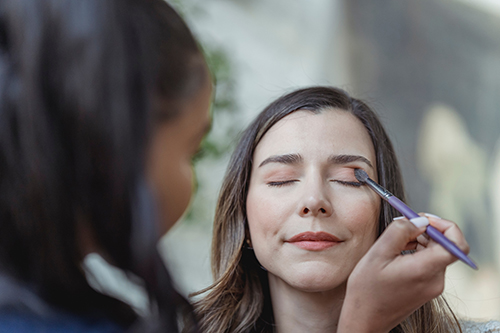
2.) Select your eyeshadow colours.
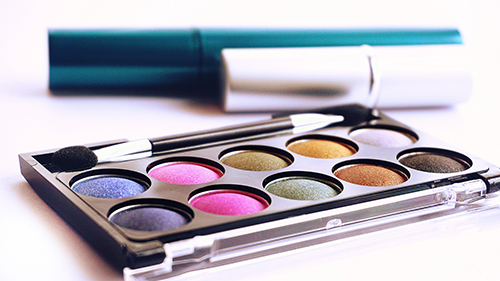
A classic smoky eye includes three different shades: one for your mobile lid (the part that moves when you blink), one for the crease, and one for the highlight. The crease colour is usually the darkest, the highlight colour is usually the lightest, and the mobile lid colour is usually a mid-tone. A classic smoky eye looks best with matte shades in the black, brown, grey, navy, or green families, but don't be afraid to experiment with lighter or more colourful shades.
3.) Use your all-over eyeshadow colour.
Press the colour you've chosen as your all-over eyeshadow shade (i.e. mobile lid shade) onto your lid with a flat eyeshadow brush. Blend it very well from the bottom of your lid to the middle of your lid so it looks more like a gradient and not a huge saturated patch of colour. This creates the illusion that your lid space is larger and opens the eyes more, which is especially helpful if you have hooded eyes.
4.) Fill in the creases with your chosen colour.
Next, incorporate a crease colour to add dimension to your look. Choose a coordinating dark shade that is one to two shades darker than your overall colour. Then, using a blending brush, blend the colour into your eye's outer corner. Blend the shade in small, circular motions toward the centre of your eyelid, adding layers to intensify the pigment until you have a smoky blend. When the transition between this colour and your overall shade is smooth, you'll know you're ready to move on to the next step.
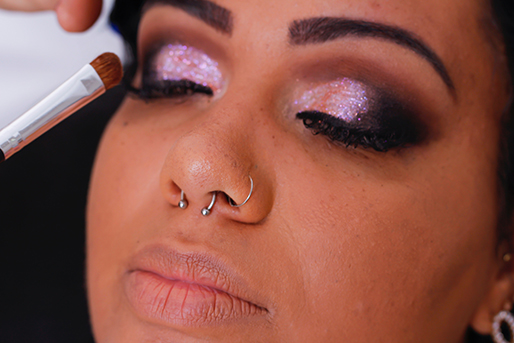
5. Put on your highlighter.
Finally, from your crease to your brow bone, apply a light, neutral shadow one to two shades lighter than your all-over colour. This highlight shade will help to smooth out the look and highlight the gradient effect you're going for. For a little extra glow, dab your highlight on the inner corners of your eyes to make your eyes look bright and awake
6.) Blend, blend, and blend again.
A smooth transition between the three shades is essential for creating a great smoky eye. The most common mistake I see people make is not blending the shadow enough. To avoid this, use that fluffy brush and continue blending until there is no discernible difference between the three shades.
7.) Draw lines around your eyes
We recommend lining the eyes with black eyeshadow before applying eyeliner. This will ensure that you like the shape before applying a liquid or gel liner.
Once you're satisfied with your liner shape, go over it with gel liner, making sure to apply it along your upper and lower lash lines. Gel liners are ideal for smoky eye makeup because they quickly create a bold, black line that can be sharp or smudged out with a smudging brush.
If you want to create a light smoky eye, you could try a pencil liner instead. If you want a sharp cat-eye look, liquid eyeliner is the way to go. Remember that you can complete your look with the colour of your eyeliner.
8.) Finish your makeup, then go back to the mascara.
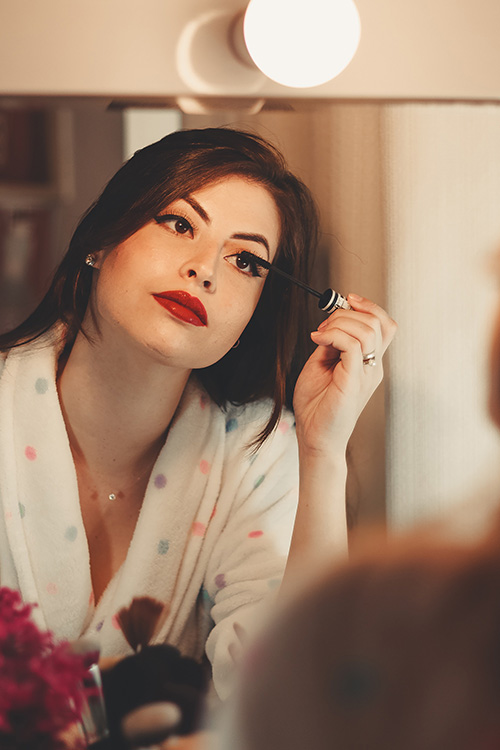
And tada! You've got the smoky eye down pat. The beauty of this makeup look is that it can be tweaked and adjusted to suit your desired look or level of intensity. Feel free to add your own personal touches to make yours as one-of-a-kind as you are!